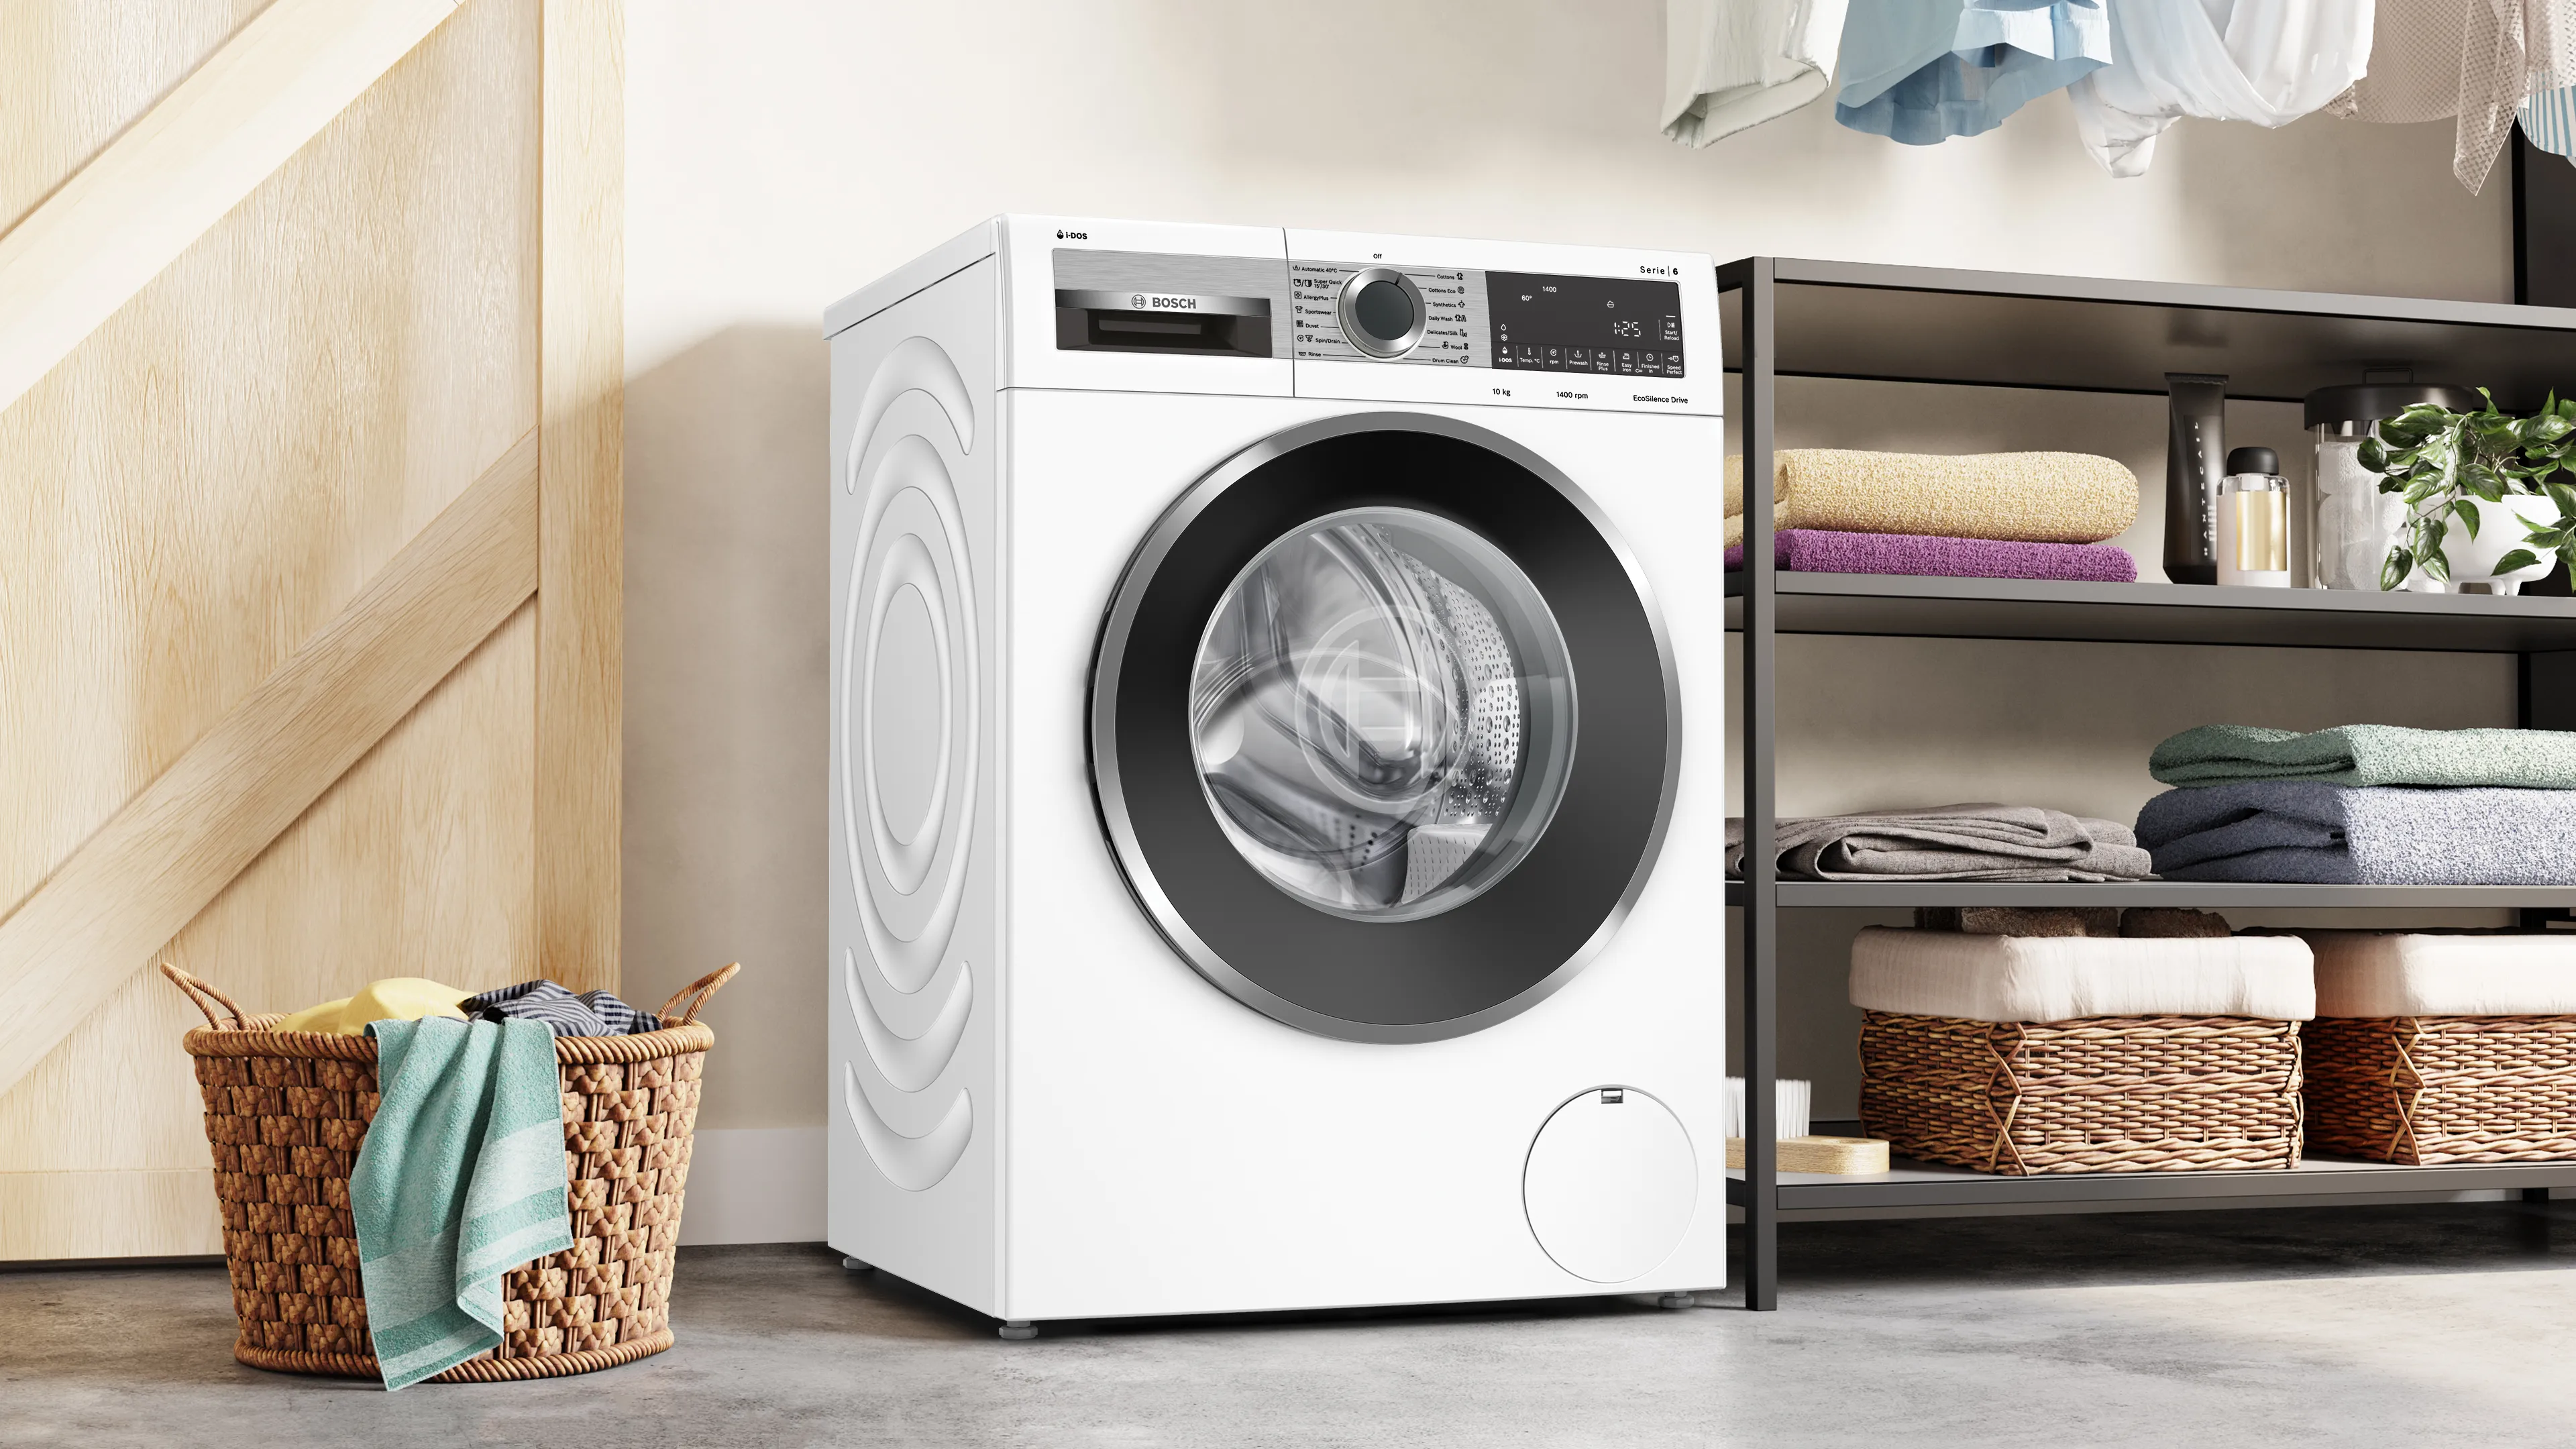
So, the shiny new washing machine has arrived. The delivery team has wheeled it into your laundry room, and now you’re left staring at it, a couple of hoses in hand, thinking, “Now what?” Don’t sweat it. Knowing How To Hook Up A Washing Machine is one of those essential life skills that seems intimidating at first, but is surprisingly straightforward. As the voice for Washing Machine Co, I’ve seen it all, and I’m here to walk you through every step, ensuring your new laundry champion gets the pro installation it deserves, right from the get-go. This isn’t just about connecting a few pipes; it’s about setting the stage for years of flawless performance.
Before You Begin: A Pre-Installation Checklist
Let’s be honest, the excitement of a new appliance can make you want to jump right in. But a few minutes of preparation can save you hours of headaches. Before we get to the nuts and bolts, let’s make sure we have all our ducks in a row.
What Tools and Supplies Will I Need?
Having everything you need within arm’s reach makes the whole process smoother. You don’t need a massive toolbox, just a few key items.
- Adjustable Wrench or Channel-Lock Pliers: This will be your best friend for tightening the water hose connections.
- A Level: This is non-negotiable. An unlevel machine is a noisy, inefficient, and short-lived machine.
- New Washer Hoses: I can’t stress this enough. Always use new hoses. Old rubber hoses become brittle and are one of the leading causes of household floods. Invest in a pair of high-quality, braided stainless steel hoses. They’re worth every penny for the peace of mind.
- A Bucket and Some Old Towels: A little bit of water spillage is almost inevitable when disconnecting an old machine or turning on the water. Be prepared.
Preparing Your Laundry Space
Take a moment to inspect the area where your new washer will live. You’ll need:
- A solid, level floor. A weak or uneven floor will amplify vibrations and noise.
- Hot and cold water faucets (supply valves). These should be within a few feet of the machine. Check for any drips or corrosion.
- A drainpipe (standpipe) or a large utility sink. This is where the washer will pump out used water.
- A three-prong, grounded electrical outlet. Never use an extension cord for a major appliance like a washing machine.
With your space prepped and your tools gathered, you’re ready for the main event.
The Main Event: How to Hook Up a Washing Machine
Alright, let’s get this done. Follow these steps carefully, and your machine will be ready for its first load in no time.
- Unpack and Remove the Shipping Bolts
This is the single most important step that people forget. Washing machine drums are secured with large bolts (usually 3 to 5 of them on the back panel) to prevent them from bouncing around during transit. If you run the machine with these bolts in, it will shake violently and can destroy itself. Consult your user manual to locate and remove them using your wrench. Keep them in a safe place in case you ever need to move the machine again. - Position the Washer
Carefully move the washer into its final position, but leave about 6 inches of space behind it for now. This will give you enough room to comfortably work on the connections without being cramped. - Connect the Water Supply Hoses
You’ll have two hoses, typically marked with red for hot and blue for cold.- First, attach one end of the hot water hose (red) to the corresponding hot water faucet on the wall. Hand-tighten it first, then give it an extra quarter-turn with your pliers. Don’t overtighten, as this can damage the rubber washer inside the coupling.
- Next, attach the other end of the hot water hose to the hot water inlet on the back of the washing machine, usually marked with an ‘H’ or a red ring. Again, hand-tighten then give it a snug quarter-turn.
- Repeat the exact same process for the cold water hose (blue), connecting it from the cold faucet to the cold inlet on the machine (marked ‘C’ or with a blue ring).
- Set Up the Drain Hose
The drain hose is the flexible, ribbed hose that came attached to your washer. This is where the dirty water exits.- Carefully guide the hooked end of the drain hose into your wall’s standpipe or over the edge of your utility sink.
- Crucially, it must be secured. Most washers come with a zip tie or a plastic hose guide. Use it to fasten the hose to the standpipe or a water supply line so it can’t pop out during a vigorous drain cycle.
As our lead field technician, John Carter, with over 15 years of hands-on experience, always says: “I’ve seen more water damage from an unsecured drain hose than from almost any other appliance issue. A 10-cent zip tie can save you from a thousand-dollar flood. Don’t skip it.”
- Level the Machine
Now, slide the washer into its final resting place. Place your level on top of the machine. Check it from front-to-back and side-to-side. Most washing machines have adjustable, screw-in feet. Prop up the front slightly and turn the feet up or down as needed until the bubble on your level is perfectly centered. Once level, lock the feet in place using the lock nuts if your model has them. A perfectly level machine is a quiet machine. - Plug It In and Turn On the Water
Plug the power cord directly into the grounded wall outlet. Then, slowly turn the hot and cold water faucets all the way on. Check all four connection points (two at the wall, two at the washer) for any drips or leaks. If you see one, turn the water off and tighten the connection another eighth of a turn. - Run a Test Cycle
Before you throw in your favorite jeans, run a short, empty rinse-and-spin cycle. This will confirm that everything is working correctly, water is flowing in and draining out, and there are no hidden leaks. Listen for any excessive shaking or banging—if you hear it, your machine probably isn’t perfectly level.
Troubleshooting Common Installation Hiccups
Even with the best instructions, you might run into a small issue. Here are some quick fixes for common problems when you hook up a washing machine.
- The machine is leaking: Turn off the water immediately. The most likely culprit is a loose hose connection. Check all four connection points and ensure the rubber washers are seated correctly inside the hose ends.
- The machine is shaking or “walking”: This is almost always one of two things: you either forgot to remove the shipping bolts, or the machine is not perfectly level. Double-check both.
- The machine won’t fill with water: Ensure the water faucets are turned on all the way. Check that the hoses aren’t kinked behind the machine.
Learning the proper way to how to hook up a washing machine is more than just a DIY project; it’s the first step in caring for your investment. Taking the time to do it right ensures efficiency, safety, and a much quieter laundry day.
Frequently Asked Questions about Washer Installation
Q: Can I use my old washing machine hoses?
A: We strongly advise against it. Rubber hoses degrade over time from the inside out, and a burst hose can cause catastrophic water damage. Braided stainless steel hoses are a small investment for huge protection and a must-have for any new washer installation.
Q: How tight should the water hose connections be?
A: The rule of thumb is hand-tight, plus a final quarter-turn with a wrench or pliers. Overtightening can crack the plastic fittings on the washer or compress the rubber washer too much, causing a leak.
Q: Do I really need a plumber to hook up a washing machine?
A: In most cases, no. If you have existing, functional plumbing (faucets, a drain, and an outlet), it’s a very manageable DIY job for most homeowners. You would only need a plumber if you need to install new water lines or a drain.
Q: Why is my brand new washing machine so loud?
A: Ninety-nine percent of the time, a loud new washer is because the shipping bolts were not removed or the machine is not perfectly level on the floor. Go back and check these two critical steps.
Q: What do I do with the shipping bolts after I remove them?
A: Tape them in a plastic bag to the back of the machine or put them in a clearly labeled bag with your user manual. If you ever move, you will need to reinstall them to protect the drum during transport.
You’ve done it! By following these steps, you’ve not only mastered how to hook up a washing machine but you’ve also ensured your new appliance from Washing Machine Co. will deliver the best possible performance from day one. Now, go ahead and tackle that mountain of laundry with confidence.