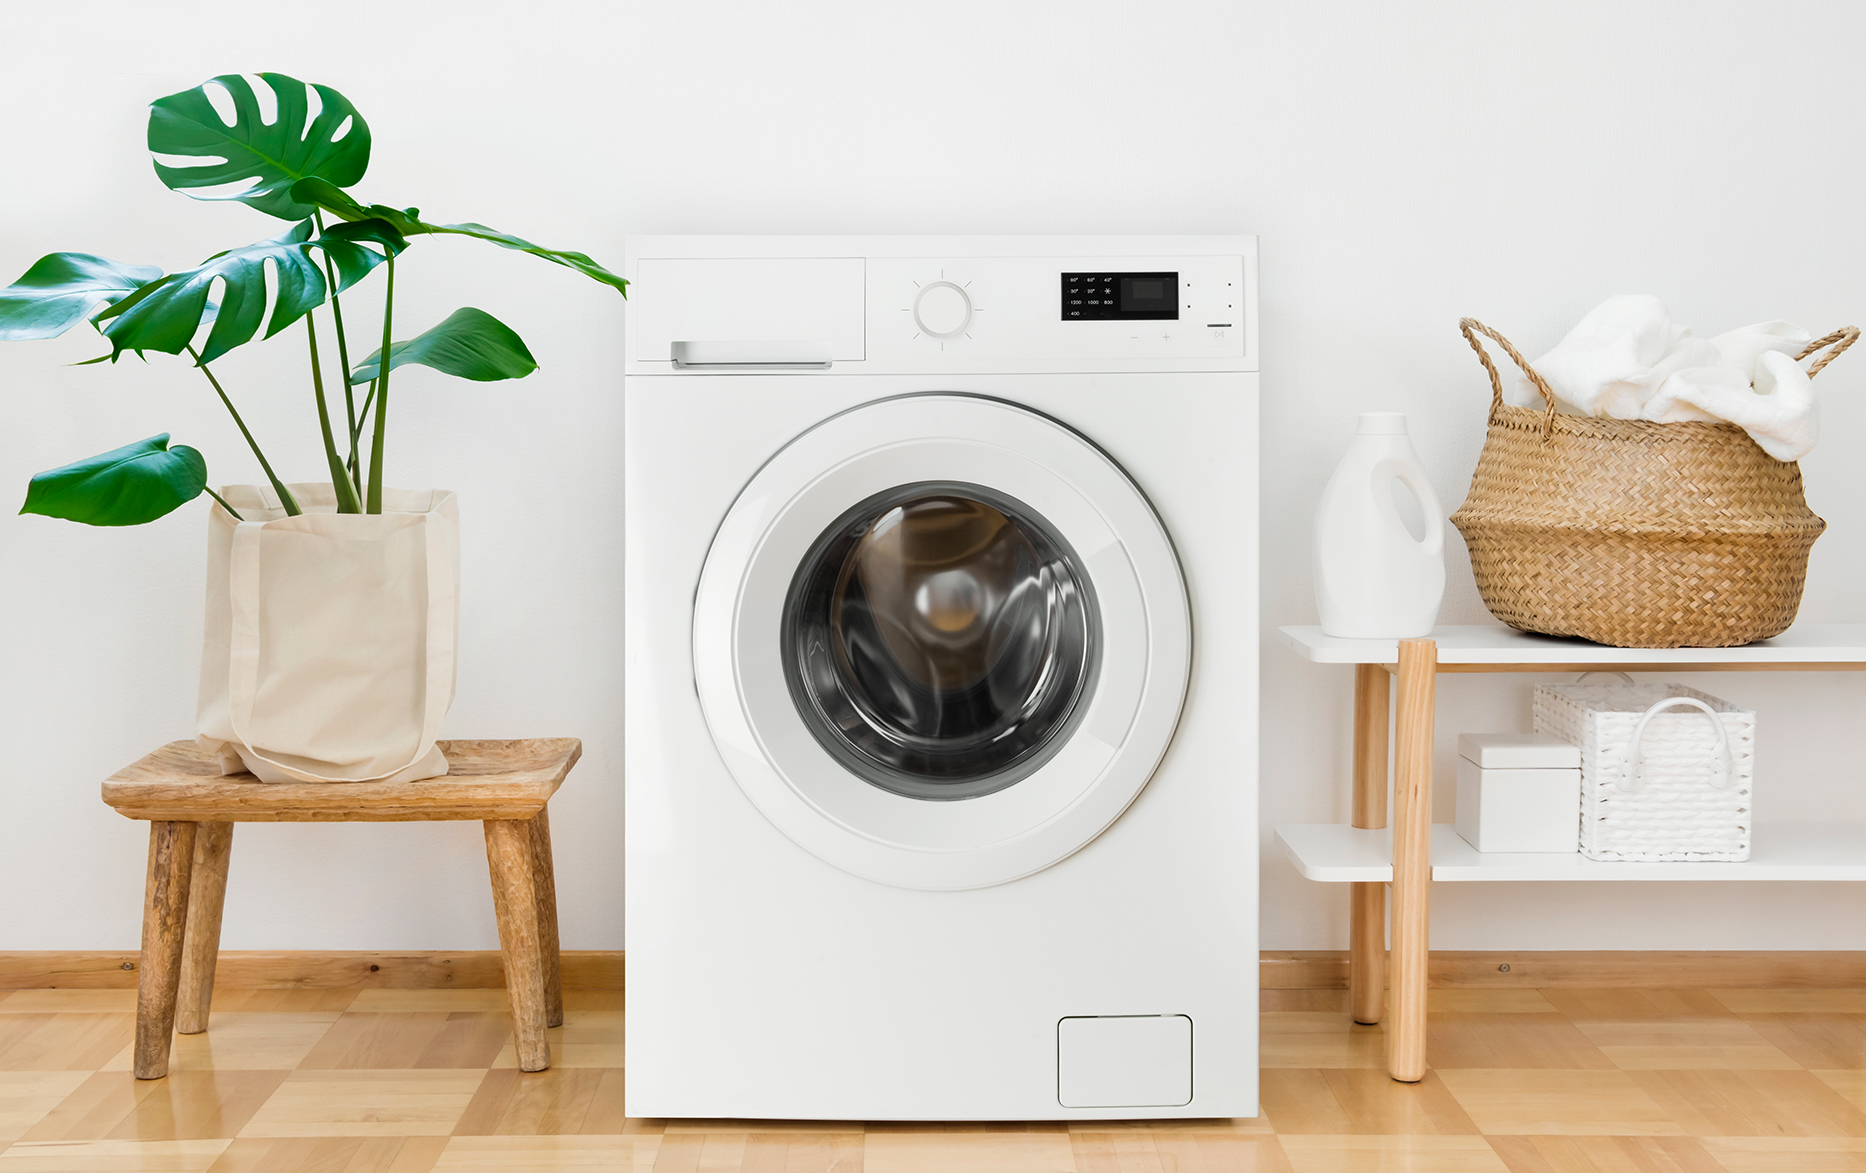
Let’s talk about the unsung hero of your laundry room: that flexible gray or black tube snaking out from the back of your washer. Getting the setup right when you learn How To Install A Washing Machine Drain Hose is the single most important thing you can do to prevent a soggy, soapy disaster. It seems simple, but I’ve seen it all in my years with Washing Machine Co. – a small mistake here can lead to big headaches, from mysterious odors in your “clean” clothes to a mini-flood on a Tuesday afternoon. Don’t worry, though. We’re going to walk through this together, step by step, so you can connect your machine with the confidence of a seasoned technician.
First Things First: Tools and a Quick Safety Check
Before you even think about connecting that hose, let’s get our ducks in a row. You don’t need a massive toolbox for this, but having the right gear makes the job a whole lot smoother.
- A bucket and some old towels: This is non-negotiable. There’s almost always a little residual water in a new machine from factory testing or in an old hose. Be prepared!
- Pliers (channel-lock or slip-joint): You’ll need these for tightening or loosening the hose clamp on the machine’s end.
- Zip ties or a strap: Essential for creating a “high loop,” which we’ll talk about in a minute. Trust me, this is the secret sauce.
- A flashlight or headlamp: It can get pretty dark behind a washing machine.
Safety Tip: Always unplug your washing machine from the wall outlet before you start working behind it. It’s a simple step that ensures you won’t get any nasty surprises.
Understanding Your Home’s Drainage System
Where is all that gray water going to go? Most homes have one of two primary setups for washer drainage. Figuring out which one you have is the key to a successful installation.
The Standpipe: The Modern Standard
A standpipe is a vertical pipe, usually made of white PVC or black ABS plastic, coming out of the wall. It’s typically between 1.5 to 2 inches in diameter. This is the most common and preferred method for modern homes. It’s designed specifically for this purpose and provides a clean, out-of-the-way connection.
The Utility Sink or Laundry Tub
If you have an older home or a dedicated laundry basin, you might be draining your washer directly into the sink. This method is perfectly fine, but it requires a bit more care to ensure the hose is secure and won’t pop out mid-cycle, turning your laundry room into a swimming pool.
Knowing your setup will dictate exactly how to install a washing machine drain hose for a secure, leak-proof fit.
How to Install a Washing Machine Drain Hose: The Main Event
Alright, let’s get to it. We’ll break this down into a few simple, crucial steps. Whether you have a brand new Washing Machine Co. front-loader or are just repositioning your trusty top-loader, the principles are the same.
Step 1: Connect the Hose to the Washer
First, locate the drain outlet port on the back of your washing machine. It’s usually a plastic or metal nozzle near the top.
- Slide the spring or screw clamp over the end of the drain hose.
- Firmly push the end of the hose onto the machine’s drain outlet. It should be a snug fit.
- Using your pliers, squeeze the spring clamp’s tabs and slide it over the connection point, or use a screwdriver to tighten the screw clamp. It should be tight enough that you can’t easily pull the hose off, but don’t overtighten and crack the plastic.
Step 2: The All-Important High Loop
What is a high loop and why is it so important?
A high loop is a simple U-bend in the drain hose that is secured to the back of the washing machine, higher than the water level inside the tub. This prevents dirty drain water from your home’s plumbing from flowing back into your washer—a phenomenon called siphoning. Without it, you might find your clean clothes have a funky smell.
Expert Tip from John Carter, a 15-year veteran appliance technician: “I’d say 50% of the ‘my washer smells’ calls I get are because of an improper drain hose setup. Forgetting the high loop is like inviting dirty water back to the party. Secure that hose so the top of its loop is at least 30 inches (76 cm) from the floor. It’s a five-second step that saves you a world of trouble.”
To create the high loop, simply bend the hose up and use a zip tie or the provided plastic strap to fasten it to one of the water inlet hoses or a designated clip on the back of the washer. The top of this loop should be higher than the highest potential water level in the machine.
Step 3: Secure the Hose Into Your Drain
This is where your setup (standpipe or sink) really matters.
For a Standpipe:
This is the easy part of learning how to install a washing machine drain hose. Most drain hoses come with a rigid, U-shaped plastic hook or guide.
- Feed the end of the drain hose through this hook.
- Insert the hooked end into the standpipe.
- Crucially, do not insert the hose more than 4-6 inches into the pipe. Pushing it in too far can create a seal, leading to siphoning. You need an air gap at the top to allow the system to breathe.
- Do not use duct tape or any other method to seal the hose to the standpipe! This prevents the necessary air gap and can cause major drainage issues.
For a Utility Sink:
- Use the same U-shaped plastic hook that came with your hose.
- Position the hook over the edge of the sink, directing the water flow towards the sink’s drain.
- Secure the hose to the edge of the sink or a nearby faucet with a zip tie. You want to be absolutely sure that the pressure of the water gushing out won’t dislodge it. A loose hose can empty your entire wash tub onto the floor in less than a minute.
Common Blunders to Avoid at All Costs
Even the handiest folks can make a slip-up. Here are the most common mistakes we see and how to sidestep them.
- Pushing the Hose Too Far In: As mentioned, this eliminates the air gap and can cause siphoning. Less is more when inserting the hose into the standpipe.
- Forgetting the High Loop: This is the #1 rookie mistake. Without it, you risk dirty water mixing with your rinse cycle.
- Not Securing the Hose: A hose that pops out of a utility sink is a classic laundry room disaster. Use that zip tie!
- Extending the Hose Improperly: If your hose is too short, avoid the temptation to just add a random piece of tubing. We’ll cover the right way to do this next.
What Do I Do If My Drain Hose Is Too Short?
This is a common question, especially in larger or oddly configured laundry rooms. Your washing machine’s pump is designed to push water a certain distance and height. The standard hose length, usually 4-6 feet, is optimized for this.
If you must extend it, purchase a dedicated washing machine drain hose extension kit. These kits come with the correct diameter hose and a connector that creates a secure, leak-proof seal. Follow the kit’s instructions carefully. Avoid extending the hose more than an additional 4 feet, as it can overwork your machine’s pump and lead to premature failure. Check out our guide to washing machine accessories for brand-approved options.
Frequently Asked Questions
Here are a few more questions we often hear at Washing Machine Co. when it comes to drain hose installation.
Q: Can I install a washing machine drain hose into a floor drain?
A: Generally, this is not recommended. Floor drains often lack the proper trapping and venting required, which can allow sewer gases to enter your home. A standpipe or utility sink is a much safer option.
Q: How high should the standpipe be for a washing machine?
A: The top of the standpipe should be higher than the water level in the washer, typically between 30 and 39 inches from the floor. This height prevents water from overflowing and helps avoid siphoning.
Q: Why does my washing machine drain hose keep clogging?
A: Clogs are usually caused by an accumulation of lint, pet hair, and undissolved detergent. You can help prevent this by using the correct amount of high-efficiency (HE) detergent and regularly running a cleaning cycle on your Washing Machine Co. high-efficiency machine.
Q: What is the best way to secure the washing machine drain hose?
A: For a standpipe, the U-shaped plastic guide is sufficient. For a utility sink, a sturdy zip tie securing the hose to a faucet or the edge of the sink is the best method to prevent it from coming loose.
Q: How often should I check my washing machine drain hose?
A: It’s a good idea to inspect all your washing machine hoses, including the drain hose, at least twice a year. Look for cracks, bulges, or signs of leaking at the connection points.
You’ve Got This!
See? That wasn’t so bad. By following these steps and understanding the why behind them, you’re not just connecting a tube; you’re protecting your home from water damage and ensuring your washing machine runs efficiently for years to come. Now that you know how to install a Washing Machine drain hose correctly, you can finish your laundry room setup with confidence and enjoy perfectly clean clothes, cycle after cycle.