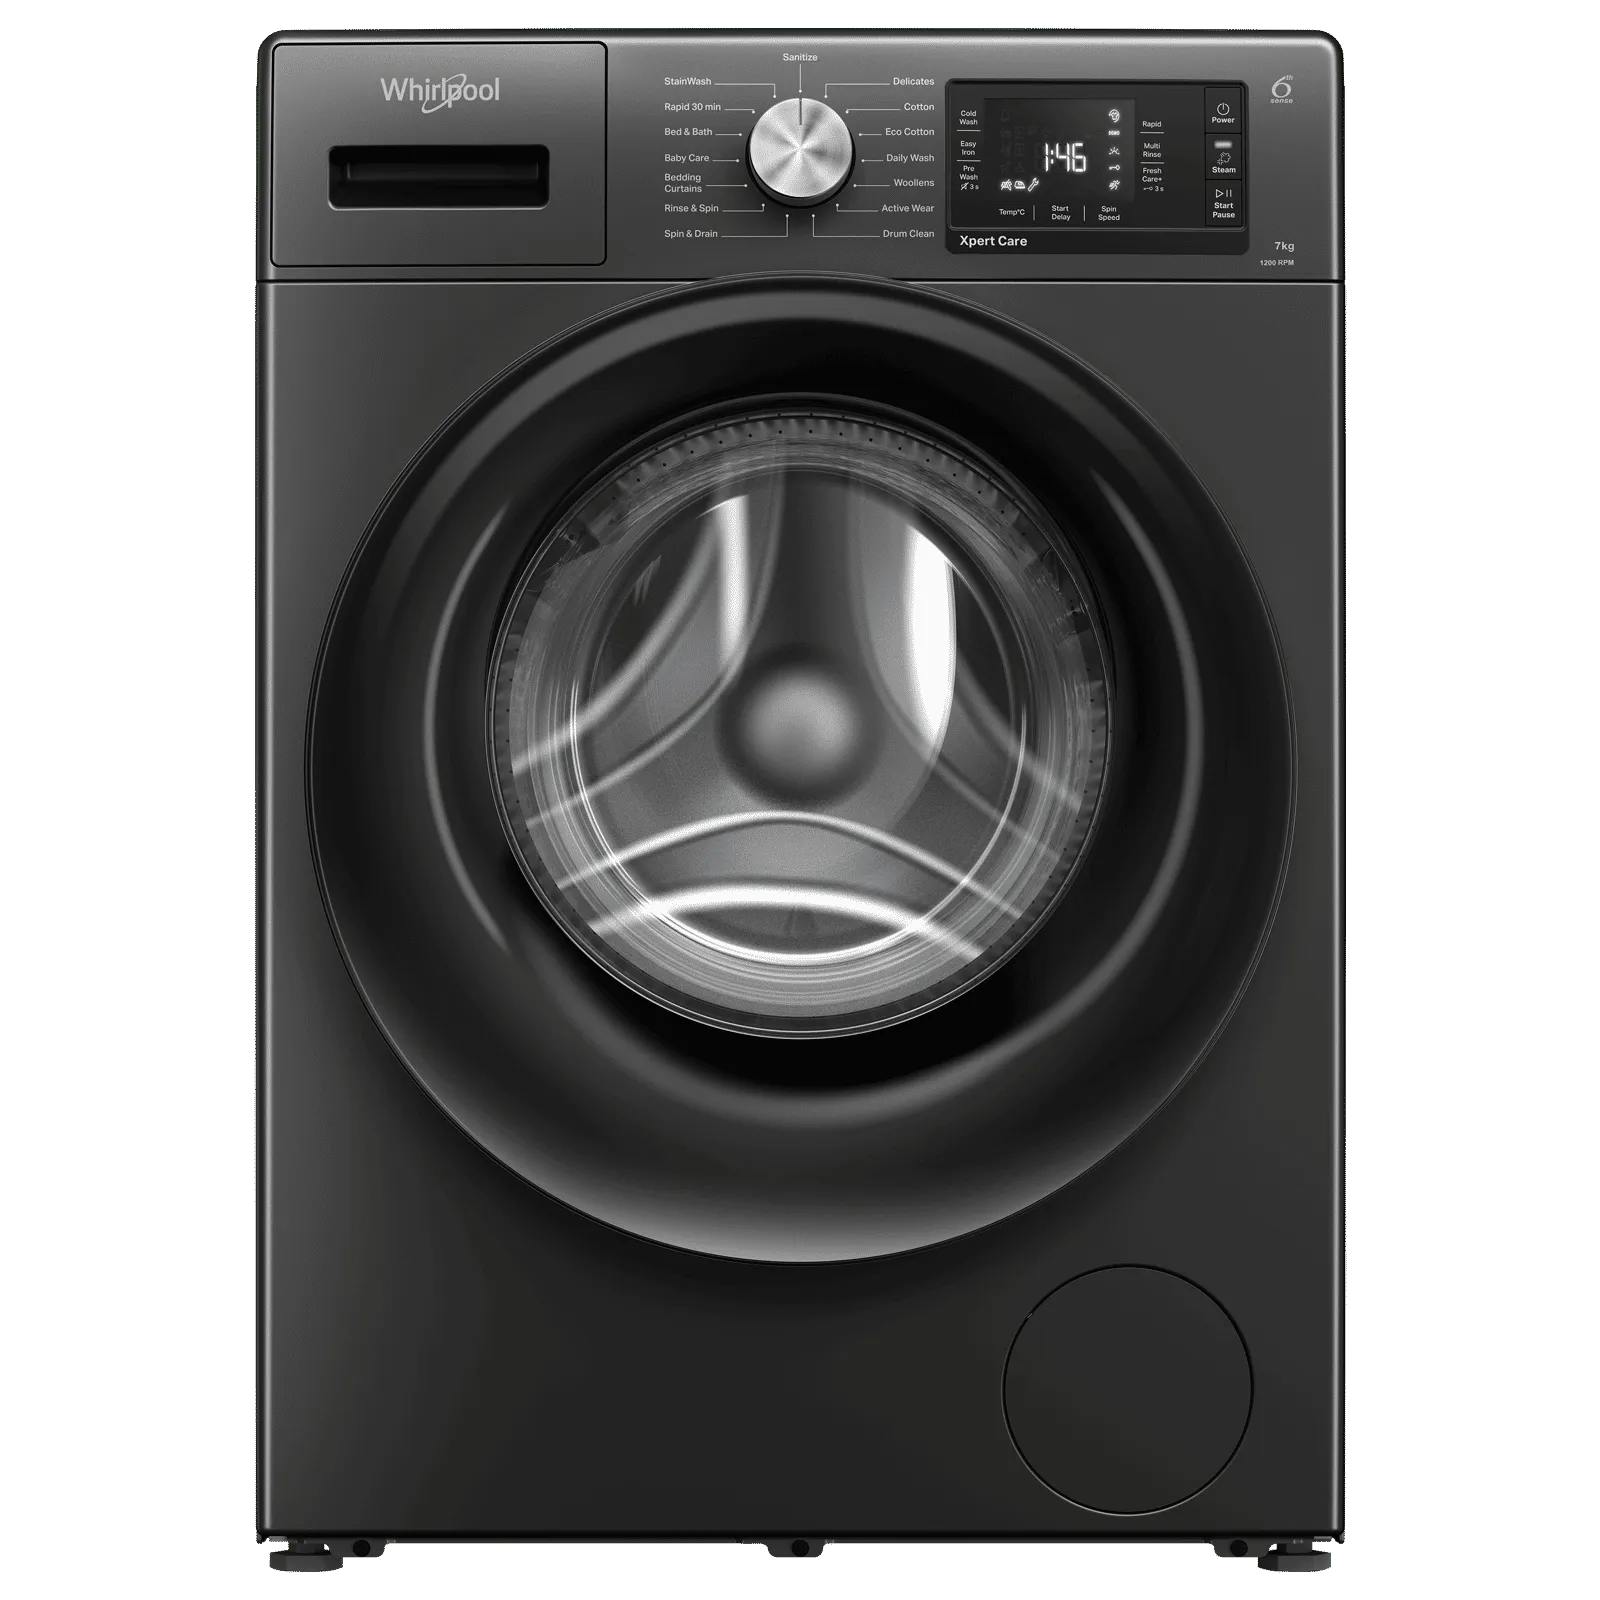
Moving day. The boxes are packed, the furniture is wrapped, and the only thing left standing between you and your new home is that one, surprisingly heavy, and awkward appliance: the washing machine. Knowing How To Move A Washing Machine Safely isn’t just about saving your back; it’s about protecting your investment and preventing a watery disaster in your new laundry room. Here at Washing Machine Co, we’ve seen it all—from cracked drums to flooded moving trucks. That’s why we’ve put together this definitive guide. Think of me as your expert on the ground, here to walk you through the process step-by-step, ensuring your trusty washer arrives in one piece, ready for its next spin cycle.
Why Proper Preparation is a Game Changer
Before you even think about lifting, let’s talk prep. Rushing this stage is the number one reason people run into trouble. A washing machine isn’t just a heavy box; it has delicate internal components and, more importantly, residual water. A little bit of planning here will save you a world of headaches later.
Gather Your Moving Day Toolkit
Having the right gear makes all the difference. You wouldn’t try to bake a cake without an oven, right? Same principle. Before you start, make sure you have these items on hand:
- An appliance dolly: This is non-negotiable. It has straps and a sturdy base designed for exactly this kind of job.
- Moving blankets or old towels: For protecting the machine’s finish and your walls.
- A bucket and towels: For catching that inevitable leftover water.
- Pliers and a wrench: For disconnecting the water hoses.
- Packing tape: To secure hoses and the power cord to the back of the machine.
- Shipping bolts (for front-loaders): Crucially important! We’ll dive into this more below. If you’ve lost yours, you can often order a new set online.
First Things First: Consult the Manual
I know, I know. Reading the manual feels like a chore. But trust me on this one. Your machine’s user manual is the single best source of information, especially for locating the shipping bolt holes and any model-specific advice. It’s the manufacturer’s direct instruction on how to move a washing machine safely. A quick search online with your model number will usually bring up a digital copy if you’ve misplaced the original.
Your Step-by-Step Guide on How to Move a Washing Machine Safely
Alright, you’ve got your tools and you’ve skimmed the manual. Let’s get down to business. Follow these steps in order for a smooth and damage-free move.
- Disconnect and Drain Completely
First, unplug the machine from the wall. Safety first, always. Next, turn off the hot and cold water supply valves. They’re usually located on the wall right behind the washer. Use your pliers or wrench to carefully unscrew the hoses from both the wall and the back of the machine. Be ready with your bucket—there will be water left in those hoses. Let them drain completely into the bucket. Finally, disconnect the drain hose from the wall pipe. - Clean and Dry the Interior
Run a final spin and drain cycle before you disconnect everything to get as much water out as possible. After disconnecting, prop the door open and use old towels to wipe down the inside of the drum and the rubber gasket on the door. This prevents musty smells and mildew from developing during transit. - Secure the Drum: The Most Important Step!
This is where most damage happens. The drum inside your washer is held by a suspension system, kind of like the shocks on a car. If it bounces around freely during a move, it can be severely damaged.- For Front-Load Washers: You must install the shipping bolts. These are special bolts that came with your machine. They go into holes on the back and lock the drum in place, preventing it from moving. If you skip this, you’re taking a massive gamble with the machine’s internal mechanics.
- For Top-Load Washers: These models don’t use shipping bolts. The drum is more stable, but it can still move. You can secure it by packing the space between the drum and the machine’s outer shell with pillows, blankets, or pieces of cardboard to minimize movement.
“I’ve repaired hundreds of washers that were damaged during a move. In almost every case involving a front-loader, the owner forgot or didn’t know about the shipping bolts. It’s a five-minute task that can save you from a several-hundred-dollar repair bill.” – John Carter, Appliance Repair Technician, 15 years of experience.
- Protect the Exterior
Now that the inside is secure, let’s protect the outside. Tape the power cord and hoses securely to the back of the unit. Don’t let them dangle. Wrap the entire machine in moving blankets and secure them with packing tape or plastic wrap. This will prevent dents and scratches to the machine, as well as your walls and doorways. - The Actual Move: Lift with Your Knees!
This is a two-person job. Period. With one person on each side, carefully tilt the machine back just enough for the third person (or one of you) to slide the appliance dolly underneath. Secure the washer to the dolly with the provided straps, making sure they are tight. When moving, communicate with your partner. Take it slow, especially around corners and down stairs. Keep the machine as upright as possible at all times. - Transporting with Care
When loading the washer onto the moving truck, always keep it in an upright position. Laying a washing machine on its side or back is a recipe for disaster. It can cause the internal components to shift, damage the suspension, and even let residual water or oil leak into sensitive electronics. Find a secure spot in the truck where it won’t tip over.
You’ve Arrived! What’s Next?
Getting the machine to its new home is only half the battle. Proper installation is key to its long-term health.
Let It Settle
Before you hook everything up, let the machine sit in its new spot for a few hours. This allows any fluids or lubricants in the motor and transmission that may have shifted to settle back into place.
Leveling is Non-Negotiable
Is there anything more annoying than a washing machine that sounds like it’s trying to achieve liftoff during the spin cycle? That’s almost always a sign that it isn’t level. Use a level on the top of the machine and adjust the small feet at the bottom until the bubble is perfectly centered, both front-to-back and side-to-side. Most feet can be adjusted by hand or with a wrench.
Reconnection and Testing
Once it’s level, you can remove the shipping bolts (store them somewhere safe!) and reconnect everything. Attach the hot and cold water hoses, making sure not to overtighten them. Place the drain hose securely in the drainpipe. Plug it in, turn the water on, and run a short, empty rinse and spin cycle to check for any leaks and ensure everything sounds right.
Frequently Asked Questions (FAQ)
Q: Can I move a washing machine by myself?
A: We strongly advise against it. Washing machines are heavy (often 150-230 lbs / 68-104 kg) and awkward to handle. It’s a significant risk for personal injury and damage to the appliance or your home. Always have at least one helper.
Q: What happens if I move a front-load washer without the shipping bolts?
A: You risk severe damage to the suspension system that holds the drum. The drum can bang against the inside of the machine, leading to cracks, misalignment, and costly repairs that can sometimes exceed the value of the washer.
Q: Can I lay my washing machine down in the truck?
A: No, you should always transport a washing machine in its upright position. Laying it on its side or back can cause damage to the drum suspension, and residual water or oil can leak into the electronics, causing a short circuit.
Q: How do I get the last bit of water out of my washing machine before moving?
A: After running a final drain and spin cycle, the best way is to drain the hoses into a bucket. There’s also often a small filter pump at the bottom front of many machines. Placing a shallow pan underneath and opening this will drain any remaining water from the pump system.
Q: I lost my shipping bolts. What can I do?
A: Don’t panic. You can easily order a replacement set online. Just search for “shipping bolts for [Your Washer Brand and Model Number]”. It’s a small price to pay for peace of mind.
Moving a washing machine can seem like a daunting task, but with the right preparation and a methodical approach, it’s perfectly manageable. By following these steps on how to move a Washing Machine safely, you’re not just moving an appliance; you’re protecting a valuable piece of your home’s ecosystem. Take your time, prioritize safety, and your machine will be ready to tackle laundry day in its new home without a hitch.