There are few household sights more panic-inducing than a puddle of water slowly spreading out from under your washing machine. Let’s be real, it’s a moment that can send your mind racing. But before you start grabbing every towel you own, take a deep breath. Seeing your Washer Is Leaking Water From The Bottom is a common issue, and I’m here to walk you through it. As a Senior Technical and Product Expert for Washing Machine Co, I’ve seen this scenario play out countless times. More often than not, the culprit is something you can identify, and sometimes even fix, with a little guidance. This guide is your first step to turning that puddle of panic into a puddle of the past.
First Things First: What Causes a Washer to Leak from the Bottom?
When you find your washer is leaking water from the bottom, it’s essentially the machine’s way of telling you something is wrong on the inside. The challenge is figuring out what. Think of yourself as a detective. We’re going to start with the easiest-to-check culprits and work our way to the more complex ones.
Before you do anything else, the absolute first step is safety.
- Unplug the washing machine from the wall outlet. Water and electricity are a dangerous combination, and your safety is the top priority.
- Turn off the water supply. There should be two valves (hot and cold) on the wall behind your washer. Turn them clockwise until they are fully closed.
Now that the scene is safe, let’s investigate the most common suspects.
The Usual Suspects: A Step-by-Step Check
We’ll start with the most likely and easiest-to-access parts. You might only need a flashlight and a couple of dry towels for this part of the investigation.
1. Check the Hoses
This is ground zero for most leaks. Your washer has three main hoses: two for incoming water (fill hoses) and one for outgoing water (drain hose).
- Fill Hoses: These are the hot and cold water lines connecting from the wall to the back of your machine. Run your hand along their entire length. Are the connections at both the wall and the machine tight? Do you see any cracks, blisters, or drips on the hoses themselves? A tiny crack can spray a surprising amount of water during a fill cycle.
- Drain Hose: This hose runs from the back of your washer to a standpipe or utility sink. Make sure it’s securely placed in the drain and isn’t cracked or clogged. Sometimes, a partial clog can cause water to back up and spill over, pooling at the bottom of the machine.
2. Inspect the Drain Pump
The drain pump is what forcefully pushes water out of the machine during the drain and spin cycles. It’s usually located at the front, bottom part of the machine, often behind a small access panel. It’s a very common source for a leak.
- The Filter: Many modern washers, especially front-loaders, have a small filter or “debris trap” on the pump. If this gets clogged with lint, coins, or that sock that went missing, it can prevent a proper seal, causing a slow drip that turns into a puddle.
- The Pump Body: Check the pump itself and the hoses connected to it for cracks or loose clamps. Over time, the plastic can become brittle.
Expert Tip from John Carter, a service technician with 15 years in the field: “I’d say 40% of the ‘leaking from the bottom’ calls I get are related to a clogged drain pump filter. It’s a five-minute check that can save you a hundred-dollar service call. Most user manuals will show you exactly how to access and clean it.”
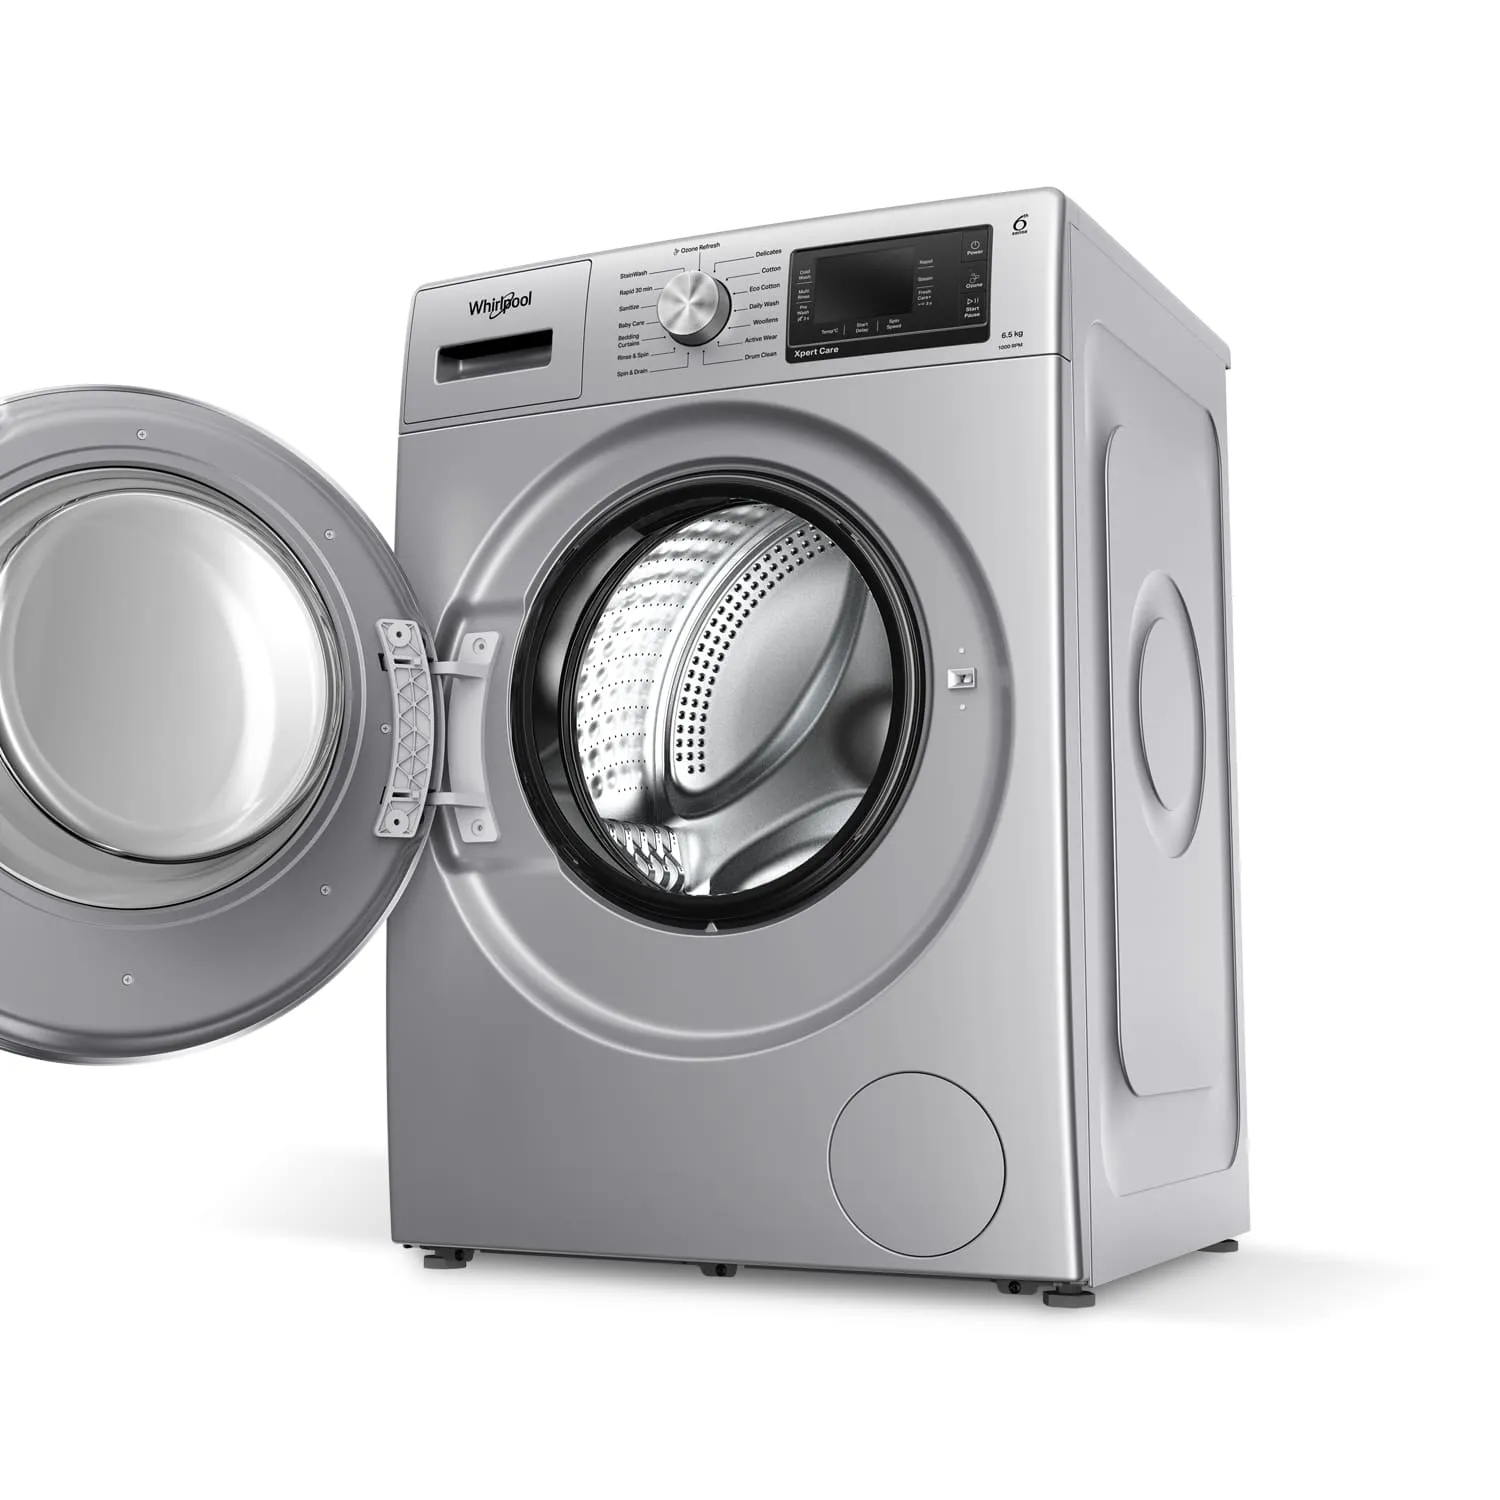
3. Examine the Door Seal (Front-Loaders)
For front-load washers, the large rubber gasket (also called a bellow) that creates a seal around the door can be a source of leaks. While this often causes leaks from the front, the water can easily run down and pool underneath. Check the bottom of the seal for tears, holes, or built-up gunk that could be preventing a tight seal.
4. The Internal Tub Seal
This one is a more serious issue. Your washer has an inner tub that spins and an outer tub that holds the water. There’s a seal between them that can fail with age and wear. If your washer is leaking water from the bottom primarily during the spin cycle and you’ve ruled out everything else, a bad tub seal could be the cause. This is a major repair and often a sign that the machine is nearing the end of its life.
When to DIY and When to Call for a New Machine
After your investigation, you’re at a crossroads. A loose hose is a simple tighten-and-go fix. Cleaning a pump filter is an easy DIY task you can do in 15 minutes. But what if it’s a cracked pump body or, worse, a failed tub seal?
A good rule of thumb is the 50% rule. If the cost of a professional repair is more than 50% of the price of a new, comparable washer, it’s almost always a better investment to upgrade. A major leak can be a symptom of a larger, systemic failure. Sinking a few hundred dollars into an old machine might just be a temporary fix before the next component fails.
If you’ve decided it’s time for an upgrade, you have an opportunity to choose a machine that not only meets your laundry needs but is also built for reliability.
Bảng trống.Choosing Your Next Washer: A Guide to Reliability
Thinking about a new machine can be overwhelming. As experts, we at Washing Machine Co believe an informed customer is a happy customer. Let’s break down what really matters.
Front-Load vs. Top-Load: The Great Debate
- Top-Load Washers: These are the traditional style many of us grew up with. They are generally less expensive upfront and some users find them more convenient to load and unload. High-Efficiency (HE) top-loaders without an agitator are a great middle-ground, offering larger capacity and better water efficiency than older models. See our full range of Top-Load Washers here.
- Front-Load Washers: These are the champions of efficiency. They use significantly less water and energy and their high-speed spin cycle extracts more water from clothes, leading to shorter drying times. They are also gentler on fabrics. While they require a bit more maintenance (like wiping the door seal), their long-term savings are substantial. Explore our latest Front-Load models.
Key Features That Actually Matter
When you’re shopping, it’s easy to get lost in a sea of features. Here are the ones that impact performance and longevity the most:
- Capacity: Measured in cubic feet, this determines how much laundry you can wash at once. A larger capacity (4.5 cu. ft. or more) is great for families and for washing bulky items like comforters.
- Spin Speed: Measured in RPM (revolutions per minute). A faster spin speed (1200 RPM or higher) wrings more water out of clothes, which is a huge plus for your energy bill as it cuts down on drying time.
- Direct Drive Motor: Unlike traditional belt-driven motors, Direct Drive motors have fewer moving parts. This means less vibration, quieter operation, and significantly better durability. It’s a feature we are incredibly proud to include in many Washing Machine Co models.
- Smart Features & Diagnostics: Modern smart washers can do more than just let you start a load from your phone. They can run self-diagnostics and alert you to potential issues—like a slow drain that could lead to a leak—before they become a major problem.
A Leak-Free Future: Essential Washer Maintenance
Whether you fix your old machine or buy a new one, proper maintenance is the key to preventing future puddles. A little care goes a long way.
- Inspect Hoses Annually: At least once a year, check the fill hoses for any signs of wear and tear. A good practice is to replace them every five years, regardless of their appearance.
- Clean the Pump Filter Monthly: If your machine has one, make this a regular habit. You’ll be amazed at what you find in there.
- Wipe the Door Gasket (Front-Loaders): After your last load of the day, quickly wipe down the rubber seal and leave the door ajar to let it air dry. This prevents mildew and preserves the integrity of the seal.
- Don’t Overload: Cramming too many clothes into the machine puts immense strain on the tub bearings and motor, leading to premature failure.
- Use the Right Detergent: Always use High-Efficiency (HE) detergent in an HE machine. Using regular detergent creates excessive suds, which can cause leaks and leave residue on components.
Frequently Asked Questions
What is the most common reason a washer is leaking water from the bottom?
The most common and easiest-to-fix causes are loose connections on the hot and cold water fill hoses or a clogged drain hose. Checking these connections at the back of the machine should always be your first step.
Can using too much detergent make my washer leak?
Yes, absolutely. Using too much soap, especially non-HE soap in an HE machine, creates a mountain of suds. The machine can’t drain them properly, which can force sudsy water out of overflows and vents, causing it to look like a leak from the bottom.
Is a small leak from my washer dangerous?
Any leak should be addressed immediately. Even a small one can damage your floor, lead to mold growth, and, most importantly, poses a serious electrical shock risk if the water reaches the machine’s power cord or internal electrical components.
Why does my washer only leak during the spin cycle?
A leak that only appears during the spin cycle often points to an issue with the drain system. The powerful force of the spin cycle can expose a small crack in the drain pump or a loose hose clamp that doesn’t leak under less pressure.
How much does it cost to fix a leaking washer?
The cost can vary dramatically. Tightening a hose might cost you nothing. A professional visit to replace a drain pump could cost between $150 and $350. A major repair like a tub seal could easily exceed $500, at which point a new machine is a wiser investment.
Discovering your washer is leaking water from the bottom is undeniably stressful, but it doesn’t have to be a catastrophe. By following these diagnostic and maintenance steps, you can confidently assess the situation. Whether it leads to a simple fix or an exciting upgrade to a new machine, you are now equipped with the knowledge to make a smart, informed decision and keep your laundry room floor dry for years to come.